If you’re ready to work with brands, the first step is to create an influencer profile that shows off your style, strengths, and audience. On Afluencer, your profile is like your digital portfolio — it’s what brands see before deciding to collaborate with you.
The good news is that setting it up is quick and beginner-friendly. With Afluencer’s guided starter wizard, you can go from sign-up to a ready-to-share profile in just a few minutes.
We’ll walk you through every step: from creating your account and connecting your socials to optimizing your bio and making your profile brand-ready. So, by the end, you’ll know exactly how to launch a strong profile that gets you discovered.
Step 1: Sign Up and Start Your Influencer Profile Setup
The first step to create an influencer profile on Afluencer is signing up for a free account. It only takes a few clicks and you don’t need any special tools to get started.
Head to Afluencer.com and click “Sign up.” From there, choose an account type — “influencer” in this case — and follow the simple influencer sign-up steps. You’ll be asked to verify your email, set a secure password, and confirm your details.
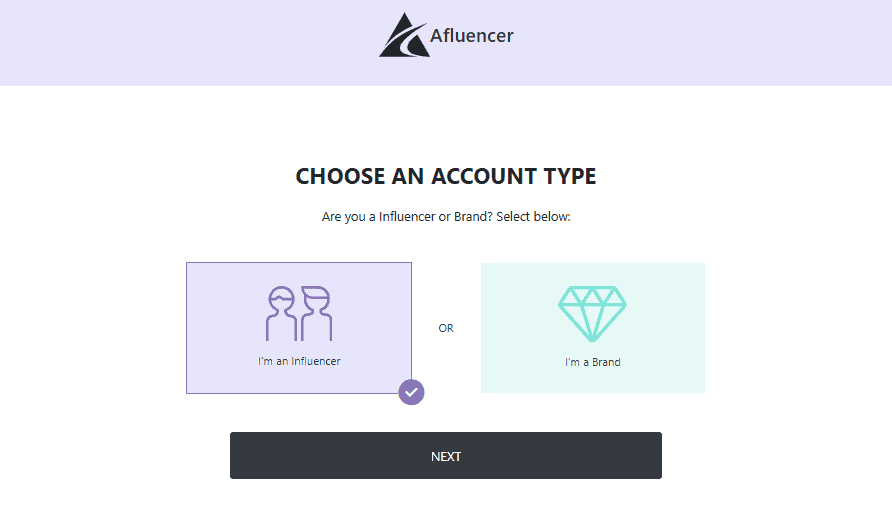
Once you’ve signed in and completed the prompts, you’ll land on the home screen.
Yay! You’ve officially started to build your influencer profile. Next, let’s walk through the Afluencer starter wizard so you can fill in the key details brands want to see.
Step 2: Use the Afluencer Starter Wizard for a Quick Setup
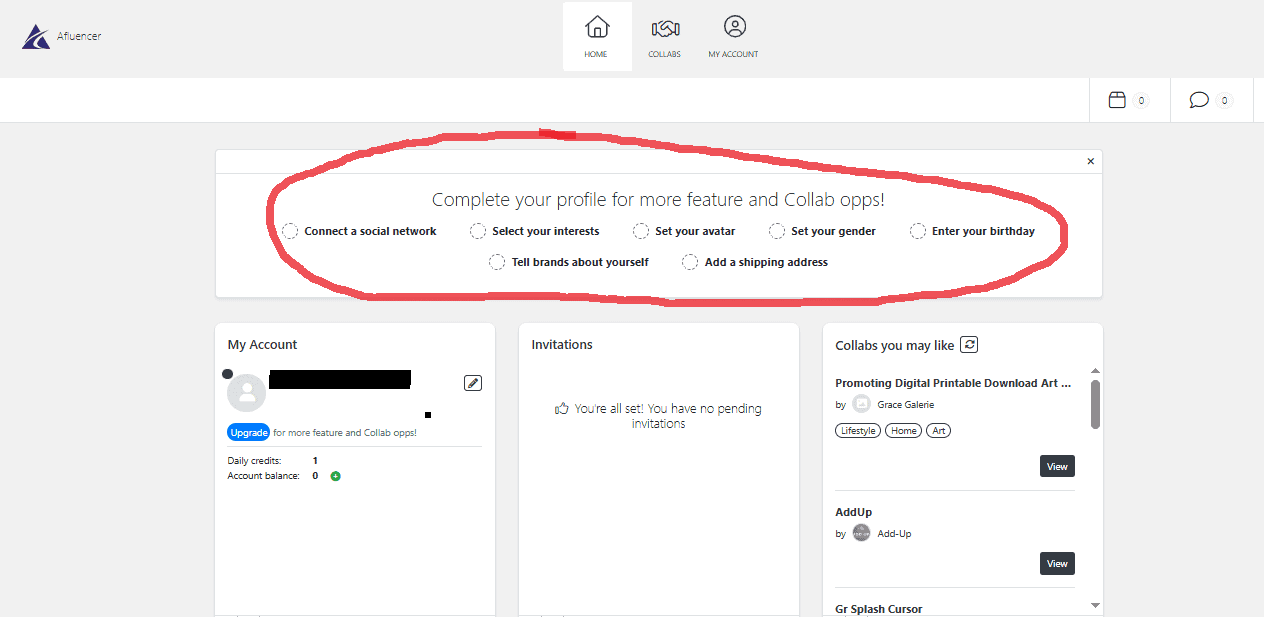
After signing up, the next step to create an influencer profile is completing the Afluencer Starter Wizard. It appears at the top of your dashboard and walks you through each section so you don’t miss anything.
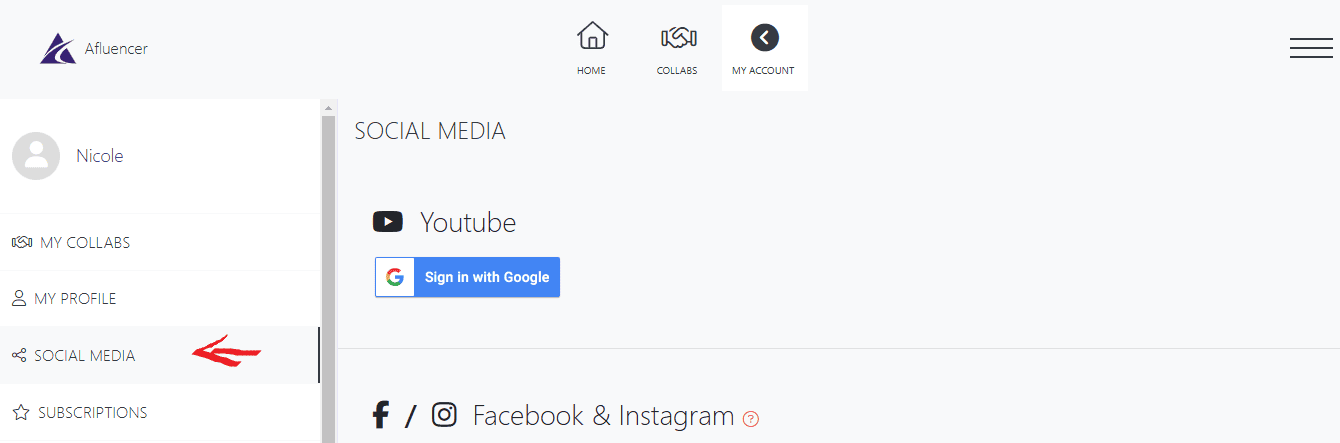
Connect a Social Network
Start by linking your Facebook and Instagram, TikTok, or other social channels. This is key — once your socials are connected, brands can instantly see your engagement rates, follower demographics, and location at a glance.
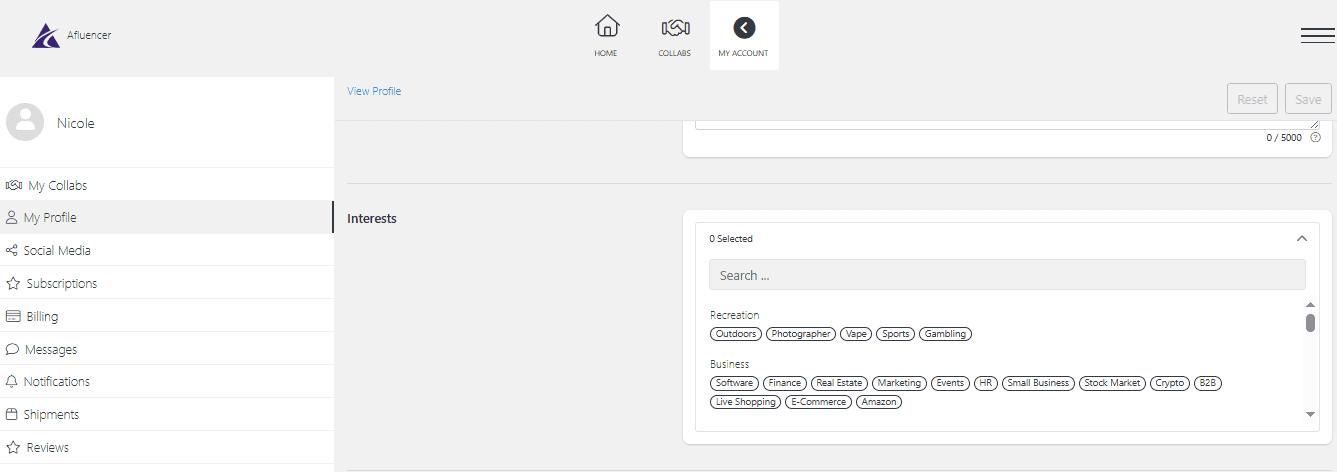
Select Your Interests
Choose the categories that best describe your niche. These interests help Afluencer match you with brand campaigns that are most relevant to your audience.
Set Your Avatar
Upload a clear, friendly profile photo. This is the first thing brands see, so keep it bright, professional, and on-brand.
Set Your Gender and Birthday
Add these details to help brands target campaigns that align with your demographic.
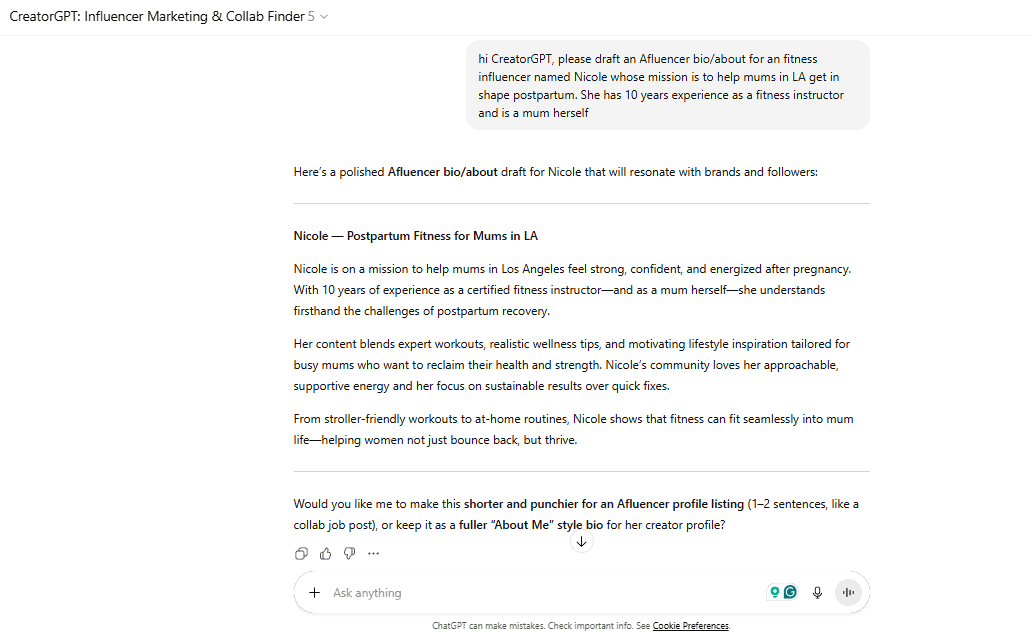
Tell Brands About Yourself
Write a short, compelling bio that highlights your content style and audience focus. If writing bios feels tricky, use CreatorGPT by Afluencer to draft a polished, brand-friendly bio in seconds.
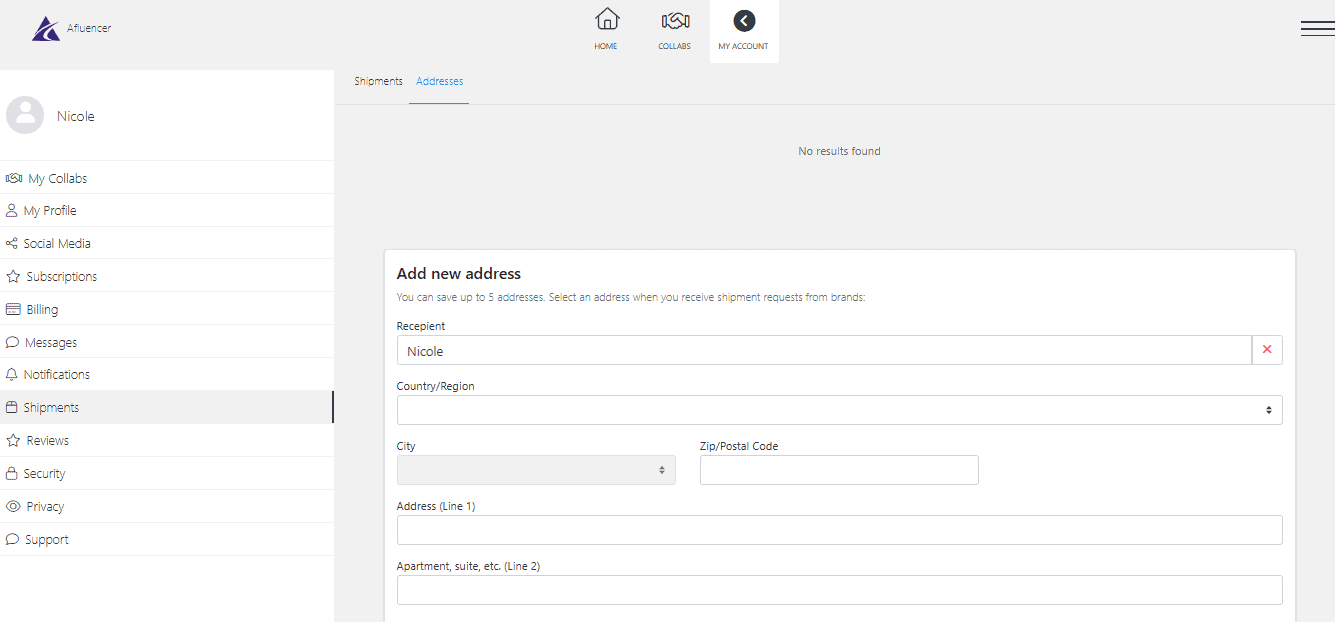
Add a Shipping Address
This is especially useful for gifting campaigns where brands send you products to promote.
Finish Strong: Optimize as You Go
As you complete each step, aim to optimize your influencer profile for brand discovery:
- Keep your bio short but memorable.
- Make sure your profile photo is crisp and inviting.
- Highlight your main niches and feature your best content once your socials are linked.
Completing and optimizing these steps sets a strong foundation to build your influencer profile that’s ready to be discovered by brands.
Want more tips on polishing your profile? Check out this piece on how to Optimize Your Influencer Profile on Afluencer so you get more invites, more Collabs, and better results.
You can also read Easy Ways to Improve Your Influencer Profile on Social Media for bio, visuals, and content strategies that make you stand out.
Step 3: Apply to Collabs and Build Your Presence
Once you’ve completed the starter wizard, your profile is ready to start working for you. The next step is to build your influencer profile by applying to brand Collabs.
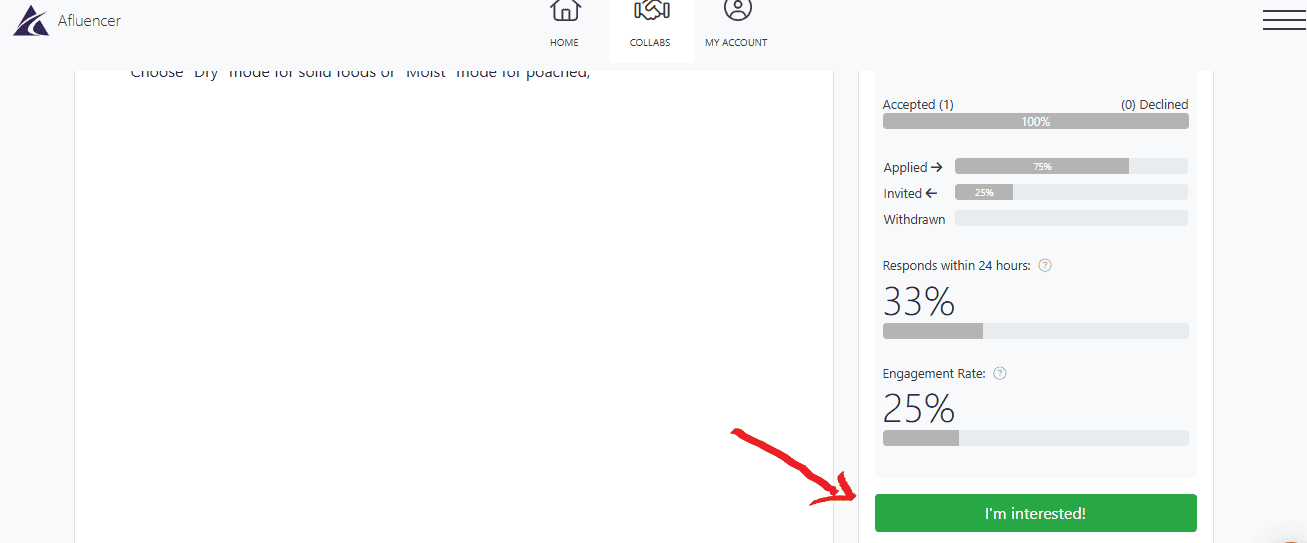
Head over to the Collabs tab in your Afluencer dashboard to browse live opportunities. You’ll see a variety of campaigns from different niches — pick the ones that best match your style and audience. To apply simply click “I’m interested” and follow the prompts!
A strong, fully completed profile makes a big difference here. Brands are more likely to approve your applications when they can see your engagement stats, demographics, and a clear sense of your content.
Pro tip: Influencers on the free plan get one Collab application each day. If you want to apply to more campaigns and boost your chances of landing deals, you can unlock additional applications with Afluencer’s Premium plan.
As you apply and start landing partnerships, your profile gains credibility and visibility on the platform. The more active you are, the more appealing your profile becomes to future brands.
Quick Tips for Beginners: Make the Most of Afluencer
Once you create an influencer profile, follow these simple tips to start strong:
- Complete every section: Add your bio, profile photo, and connect socials.
- Keep it updated: Refresh your bio, interests, and photo as you grow.
- Connect all socials: Brands love seeing your engagement and audience stats.
- Apply to relevant Collabs: Focus on campaigns that fit your niche.
- Respond quickly: Fast replies show professionalism and help you land deals.
Start Creating Your Influencer Profile Today
Getting started on Afluencer is quick and beginner-friendly. The sooner you create an influencer profile, the sooner brands can find and collaborate with you.
Sign up, follow the starter wizard, and you’ll be ready to apply for Collabs in minutes. A strong profile puts you in front of more brands and opens the door to better partnerships.
Create Your Free Afluencer Profile to get discovered by thousands of brands searching for influencers like you.
Use CreatorGPT to Perfect Your Bio and more – Draft a polished, brand-friendly bio in seconds so you can make a strong first impression.
Take the first step today and start landing the collaborations you’ve been waiting for.